

So my next post will be about ear savers! As a physician, I spend most hours of the day with a mask on my face. I find that the most difficult part with wearing a mask around the clock is the strain the elastic causes on my ears. A fellow resident – Natalie – suggested I make a crochet ear saver (there are endless options if you search the phrase on Pinterest or Youtube), but I found crocheting an ear saver was too time consuming. I went on to search for a fabric version of the ear savers, and followed several tutorials to make a few samples of fabric ear savers for myself and fellow healthcare workers. I also tried making a few samples with large elastic bands instead of fabric, but found they tended to feel a bit flimsy when trying to attach them to the mask several times a day.
I found the cotton ear savers had the nicest feel- especially when worn over many hours, , however most cotton fabrics I owned (I used a lot of leftover scrap fabric from previous projects) tended to be light – medium weight and would crinkle and not retain their original size and texture when worn repeatedly, not to mention it was hard attaching the elastic strings to the buttons on the fabric.
I then came up with the following idea to help use up my cotton fabric stash with its pretty patterns, using some basic wiping clothes you can find just about anywhere.
You will need-
- Light- medium weight cotton fabric- I used scrap fabric from previous projects, ironed before used.
- Wiping clothes- I picked up a packet at the local convenience store. It said on the label they were both washable and reusable.
- Two colourful buttons- at least 20mm-25mm in diameter.
- Thread
- Optional- sewing machine, cutting mat, rotary cutter, point turner.
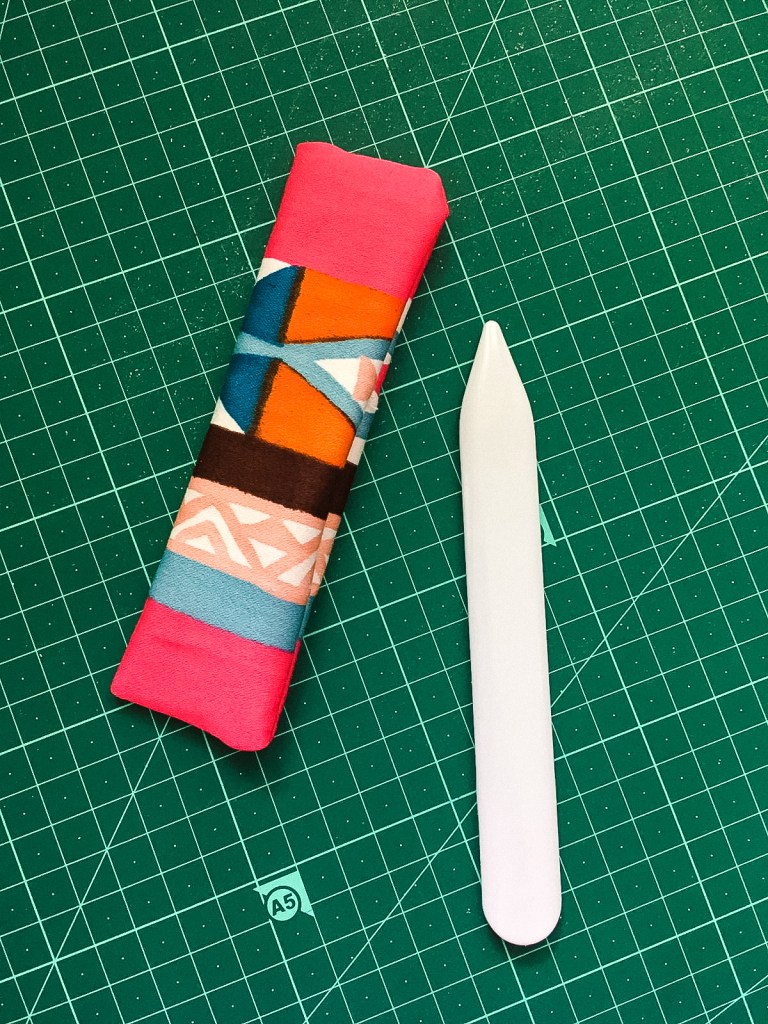
Cut a 16x10cm rectangle from the cotton fabric. I actually created a stencil and then cut around it with a rotary cutter, but using a pen and scissors would work just fine. Btw- the pink pattern weight I made following tutorials I found online, you can see an example here- https://www.craftinessisnotoptional.com/2014/01/simple-easy-pattern-weights.html

Take the cotton rectangle, fold wrong side to wrong side (the side without the print) and sew the edges together at a 10mm/1 cm seam allowance, leaving a gap of about 5 cm in the middle of the longer edge.


Turn the fabric inside out through the gap, so the pretty side is now facing you. I used a point turner to smooth out the corners.
Now cut a similar rectangle from the wiping cloth. You can use any basic absorbent cleaning cloth, look for those that are washable.


Take the wiping cloth rectangle, fold in half, and remove 10-13mm from the edges.


Step 4- Sew the edges of the wiping cloth together.

Insert the wiping cloth through the gap.

Topstitch the ear saver- best to stay close to the the edges so the gap closes properly. I actually should’ve stayed closer to the edges to ensure a proper seal.

Last but not least- add two buttons to each side either by hand or with a sewing machine.
Voila! Your very own padded ear saver.

Feel free to customise the size or materials, it’s a lot of fun experimenting!